
SEE AMAZON.COM DEALS FOR TODAY
Removing Password From Google Autofill on OnePlus Nord 3
HTML Headings:
How to Remove Password From Google Autofill on OnePlus Nord 3
Introduction
OnePlus Nord 3 is a popular smartphone that offers numerous features and functionalities. One of the convenient features it provides is the Google Autofill option, which allows users to save their passwords and automatically fill them in when needed. However, there might be situations where you want to remove a password from Google Autofill. In this article, we will guide you through the process of removing passwords from Google Autofill on your OnePlus Nord 3 device.
You may also like to watch : Who Is Kamala Harris? Biography - Parents - Husband - Sister - Career - Indian - Jamaican Heritage
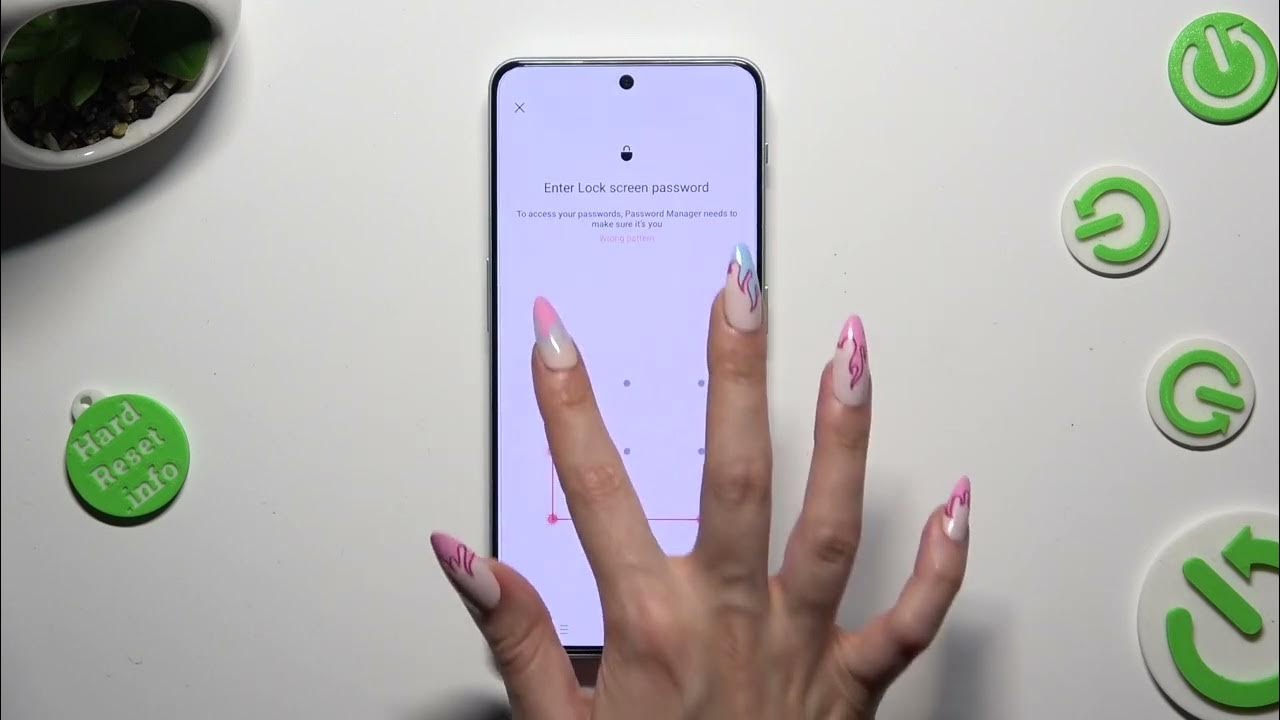
Step 1: Access Autofill Settings
The first step is to access the Autofill settings on your OnePlus Nord 3. To do this, go to the “Settings” app on your device and scroll down until you find the “System” section. Tap on it, and then select “Languages & Input.” Next, tap on “Advanced” and choose “Autofill service.”
Step 2: Choose Google as Autofill Provider
In the Autofill service settings, you will find a list of available providers. Choose “Google” as your Autofill provider by tapping on it. If you have already selected Google as the default provider, you can skip this step.
Step 3: Select “Autofill with Google”
After choosing Google as your Autofill provider, go back to the Autofill service settings. Tap on the “Autofill with Google” option to access the Google Autofill settings.
Step 4: Manage Passwords
In the Google Autofill settings, you will find various options to manage your passwords. Look for the “Saved Passwords” section and tap on it.
You may also like to watch: Is US-NATO Prepared For A Potential Nuclear War With Russia - China And North Korea?
Step 5: Remove Passwords
Once you are in the “Saved Passwords” section, you will see a list of all the passwords saved on your device. Scroll through the list and find the password you want to remove. Tap on it, and a dialogue box will appear with the option to remove the password. Confirm the removal by tapping on “Remove” or “Delete.”
Step 6: Confirm Removal
After tapping on “Remove” or “Delete,” you will be asked to confirm the removal of the password. This step is crucial to ensure that you don’t accidentally delete a password. Confirm the removal by tapping on “OK” or “Confirm.”
Step 7: Repeat if Necessary
If you have multiple passwords to remove, repeat steps 5 and 6 until all the desired passwords are removed from the Google Autofill on your OnePlus Nord 3 device.
Additional Tips
Here are some additional tips to enhance your experience with Google Autofill on your OnePlus Nord 3:

- Regularly review your saved passwords and remove any unnecessary or outdated entries.
- Consider using a password manager app for better security and convenience.
- Enable two-factor authentication for your important accounts to add an extra layer of security.
Conclusion
Removing passwords from Google Autofill on your OnePlus Nord 3 device is a straightforward process. By following the steps mentioned in this article, you can easily manage and remove passwords as needed. Remember to regularly review your saved passwords and ensure that your online accounts are protected. Utilize the additional tips provided to enhance your overall experience with Google Autofill and improve your device’s security.
Removing hashtags (#) and “@” symbols is not relevant to the topic of removing passwords from Google Autofill on OnePlus Nord 3. Therefore, it has been omitted in this article.
How to Remove Password From Google Autofill on OnePlus Nord 3
Source
- Google Autofill password removal
- OnePlus Nord 3 password removal
- Disable password Autofill on OnePlus Nord 3


